
Many times, I contemplated making a kilt. I figured, how complicated can it be?
I found it daunting to get started. Fabric – how many meters? Pattern – where could I find one? Accessories – what would I need? How would I make the fringe?……..
I chose the Labrador Tartan, available exclusively at Terry’s Tents in Happy Valley-Goose Bay, Newfoundland and Labrador, Canada. Terry’s Tents also carries kilt pins. He is ordering kilt buckles if you are interested in making your own Kilt. In stock, you will also find other tartans.
After many years, I finally got to start the kilt.
I’m going to visit my daughter Rochelle and her family in Ireland this year. Rochelle’s daughter is the ideal candidate to wear a kilt if I made one. Abby loves everything that I have made for her. Her Dad has his Irish tartan kilt. As Logan is only four, I’ll make him a Labrador tartan vest.
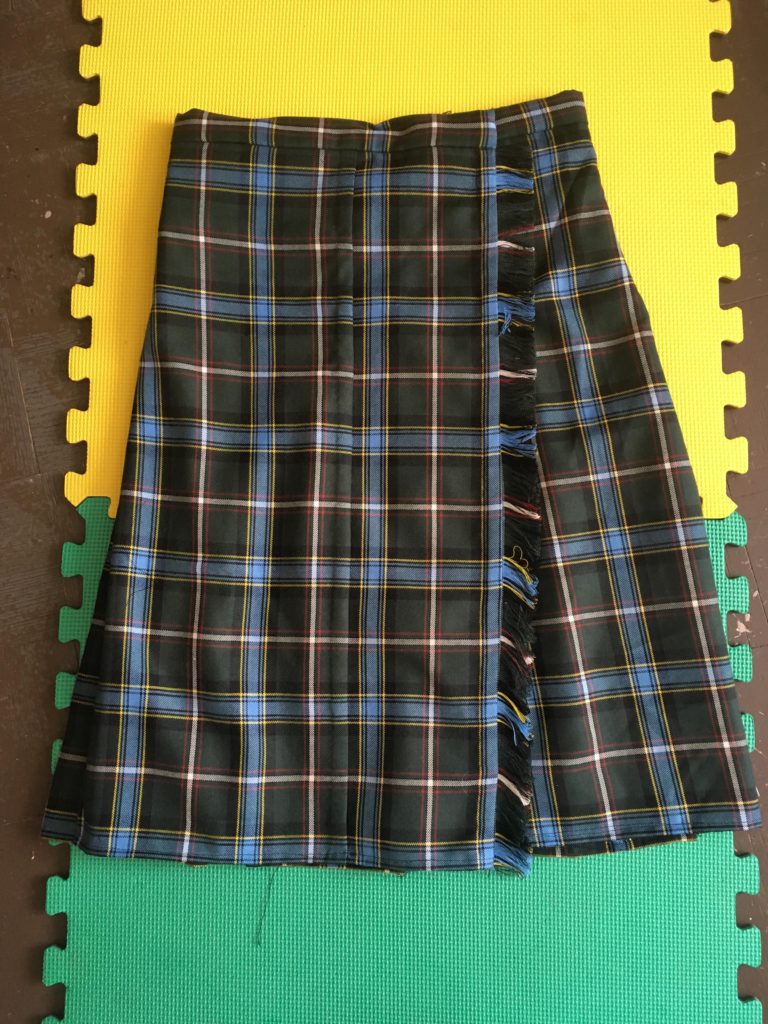
So…..I got started. With a piece of Labrador tartan that I purchased several years ago, just because I like the pattern, I pinned up a knife pleat for the back of the kilt.
Next, I sewed down the pleats about every ….cm. I pinned the pleats down from one side of the fabric to the other end of the fabric. Next to set the pleats, I used a mixture of de-mineralized water (distilled water will do the same job) and white vinegar in my iron and set the iron to high steam.
I routinely watch sewing and knitting programs on PBS where I learned about a tool called a clapper. Needless to say, living in a remote, isolated community, where the nearest community with a fabric store is a 40 minute, and almost $400.00 for a one-way airplane ride away – I had to think outside the box.
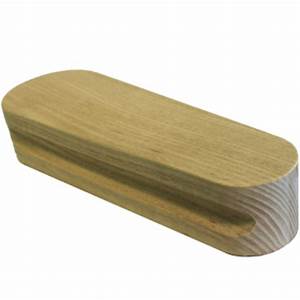
I wanted to get started right then. So I used a 30cm piece of a 2×4 that I had in my house. (Never throw away what you might need next year. I have many.. I might need that later items in my house and shed.)
That piece of leftover lumber did the same job as a store bought clapper which I won’t have to buy.
Anyway, back to my kilt. (One thing about me is that I cannot tell a story without getting sidetracked by details.) I learned from …
How to add a fringe. From the second piece of Labrador tartan, I cut an 11cm wide strip to match the pattern at the right hand, front, side of the kilt. I folded the strip in half, being careful to match the pattern of the tartan. I pressed and clapper ends of the seam.
Folding the short side edge of the kilt to create a v shape, into which I inserted this strip and sewed it together close to the edge. (Lesson learned – sew inside out then fold back.)
Next step was to add a lining over the pleats. This is a strip of cotton duck cut to cover the width and length of the pleats. I sewed the top edge at 1.25 cm (1/2″) And all the way around.
By then, it was getting dark. I do not like to work without natural light. Soooo…I spent the next two hours pulling out all the vertical threads to create the fringe. It was tedious and boring. One, or two, no more than three threads at a time.
I folded the two front flaps over the pleated back and pinned the kilt to a hanger and hung it up for the night.
Finally got that part done and it was time for bed.
Next morning, I was back at it. Two conflicting things about me are: one, I get tired of a project if it takes me a long time to finish it (unless it is really important such as the Diamond pattern sweater that I had knit and the long legs stockings that I knit as special orders) and; second, I always have four or five projects on the go at the same time (If I am knitting socks or mittens, I work on light coloured ones in the evening and at night – and I work on dark coloured ones during the day).
So I was very focused on getting as much done as I could. I showed the kilt to several friends and sent photos to family members. The con census was that it looked good. But it didn’t look right to me. The sides hung too straight. My granddaughter has hips, even though she is only ten. I looked at my project and went to one of the websites I used as a guide and found that I needed to add darts. Duh………
On close reading, I discovered that I should only sew down the top edge. Time to remove stitching. And, I needed to add darts at the sides as well as throughout the back between the pleats. So off came the lining. I also discovered that I needed to add one more pleat.
Well, that meant that the right side fold was now too narrow. I cut a piece of fabric….cm wide, cut the right front fold open and added the extension. Making sure that I matched the pattern in the tartan.
I trimmed half of one seam away, folded the other over and hand stitched it in place to prevent raveling.